When it comes to how to teach 3D shapes in 2nd grade, we have a focus. And that focus is cubes! We want students to know exactly what a cube is. Students need to be able to identify them from 2D shapes and from other 3D shapes.
Wondering how to teach 3D shapes? I’m sharing everything I do to teach 3D shapes in my 2nd grade classroom.
The common core state standard for 2nd grade 2.G.A.1 says, “Identify triangles, quadrilaterals, pentagons, hexagons, and cubes.” Cubes are the only 3D shape mentioned.
So in this blog post, let’s look at 3D shapes rules for cubes and how to teach 3D shapes to kids in 2nd grade.
How to Teach 3D Shapes
I like to teach 3D shapes after our 2D shape lessons. Learn my best tips for teaching 2D shapes and their properties in this blog post here.
I use a pack of 3D shapes to first introduce cubes to my students. I show them each shape at a time and I ask, “Is this a cube?” When they come to the cube and say “yes.” Then I ask, “How do you know it’s a cube?” I love to hear what students come up with for this!
Then I go over the 3D shapes rules for cubes. Using the wooden cube, together we count how many faces are on the cube. We learn there are 6 faces. When it comes to how to teach 3D shapes, I like to relate them to things students already know. I tell students that a cube having 6 faces makes sense because dice are in the shape of a cube. Dice have 6 sides. I show my students dice so they can double check this.
Then we move onto edges. I tell students that edges are where the faces come together. We count how many edges there are on a cube and we discover there are 12.
After that we move onto vertices. I tell students that vertices are the points or the corners of the cube. We count those and discover that there are 8.
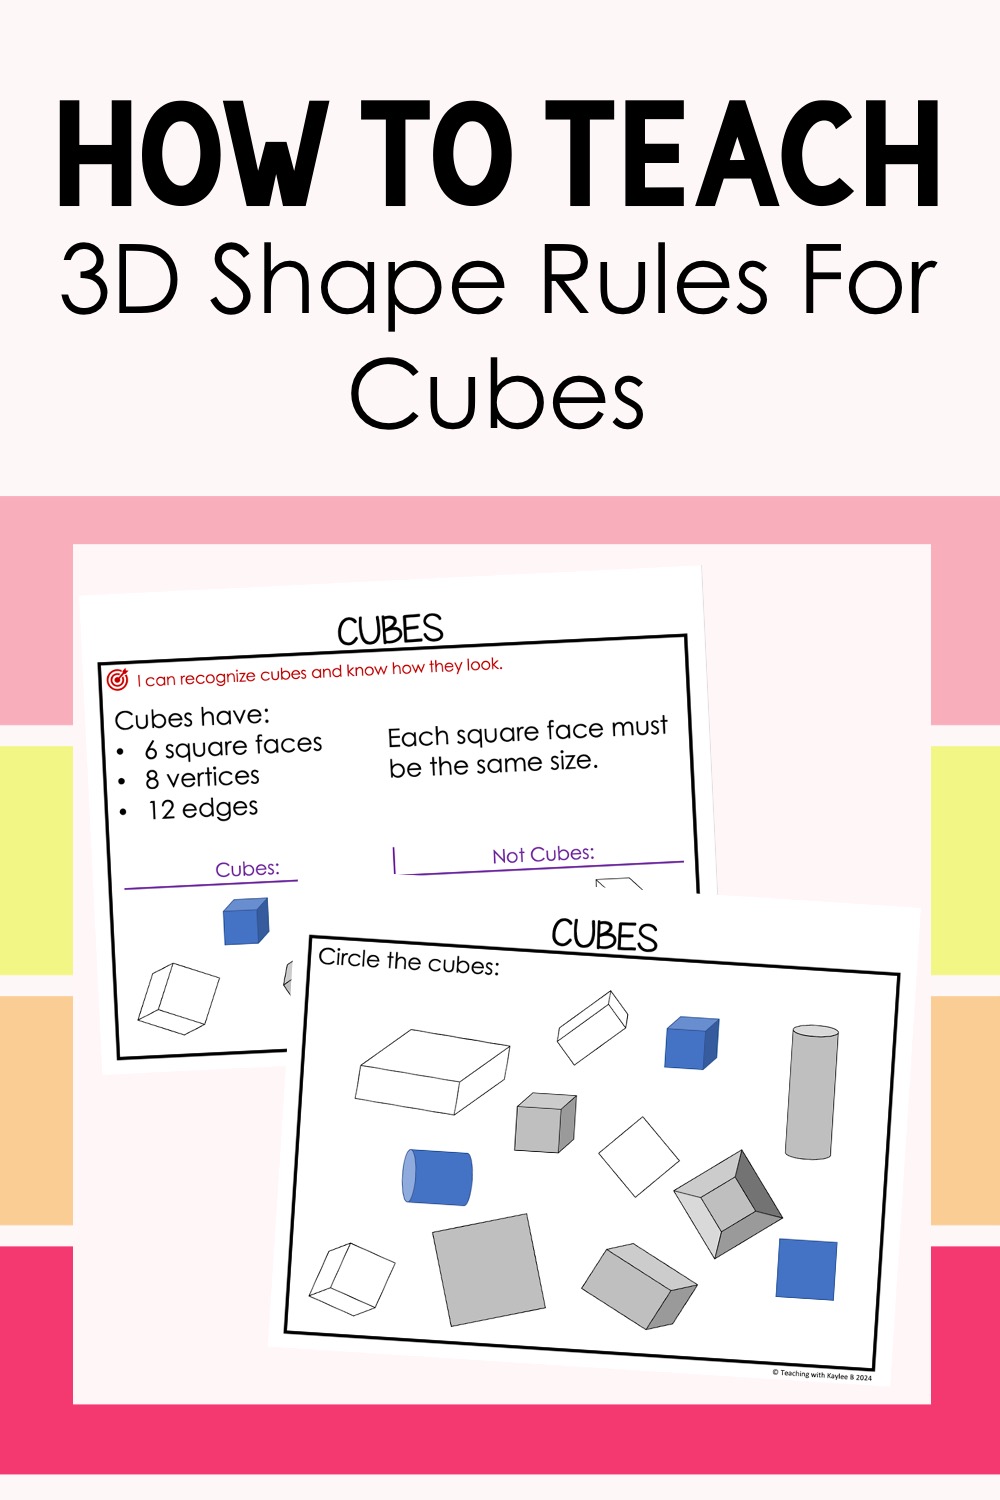
So the important numbers of a cube are 6,8, and 12. There are 6 faces, 8 vertices, and 12 edges.
Then I show students my wooden model of a rectangular prism. I quickly count up the faces, edges, and vertices. We discover that this 3D shape also has 6 faces, 8 vertices, and 12 edges! So is it a cube? No! I ask students why it is not a cube. They can tell me that in order for it to be a cube, the faces have to be the same shape and size, and that the faces have to all be squares.
After this lesson opener, I use display pages so that students can solidify 3D shapes rules for cubes.
3D Shapes Rules
I use these display pages like slides. They walk me through our direct instruction and make the lesson very visual. And when it comes to how to teach 3D shapes, making the lesson visual is key for students’ understanding.
I use these display pages to help my 2nd grade students learn how to identify cubes and know their 3D shapes rules.
The first display page lists out a cube’s attributes. It also has a chart that shows examples of cubes and shapes that are not cubes. I ask students how they know that the cubes are cubes. Then I ask why the other shapes are not cubes.
Our next slide shows a bunch of shapes. Some are cubes and some are not. Students have to help me find the shapes that are cubes. We circle those. This is a fun and quick interactive activity that prepares students for their own practice. Find the display pages I use here.
Cube Worksheets
The first cube worksheet I have students do is similar to the activity we just did as a class. The worksheet has a bunch of different pictures of shapes. Students have to circle the cubes on the page.
After students finish this worksheet, I like to do a quick check over it as a class. I project the worksheet on the front whiteboard and circle the cubes. Students check their own work.
Then I give them another cube worksheet. This time students complete the worksheet while I wait over at our classroom table. This worksheet shows students a shape and they have to circle yes if that shape is a cube. They circle no if it is not a cube.
I wait over at my table because when students are finished with the worksheet, they line up by me. This allows me to check their work with them. I’m able to help them fix their mistakes and clear up any misconceptions. Find these cube worksheets here.
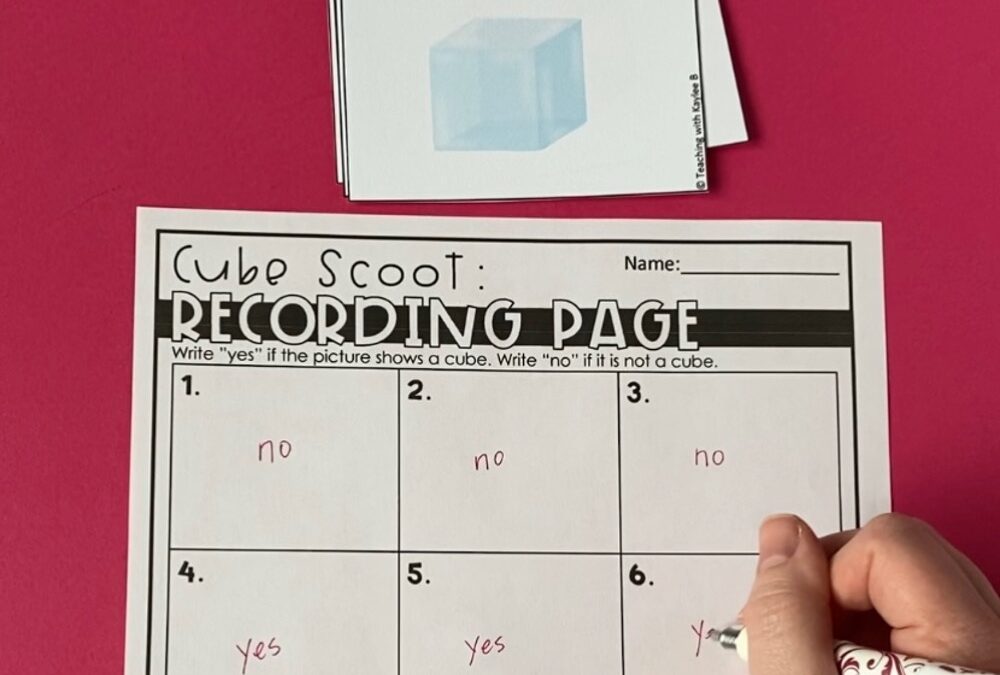
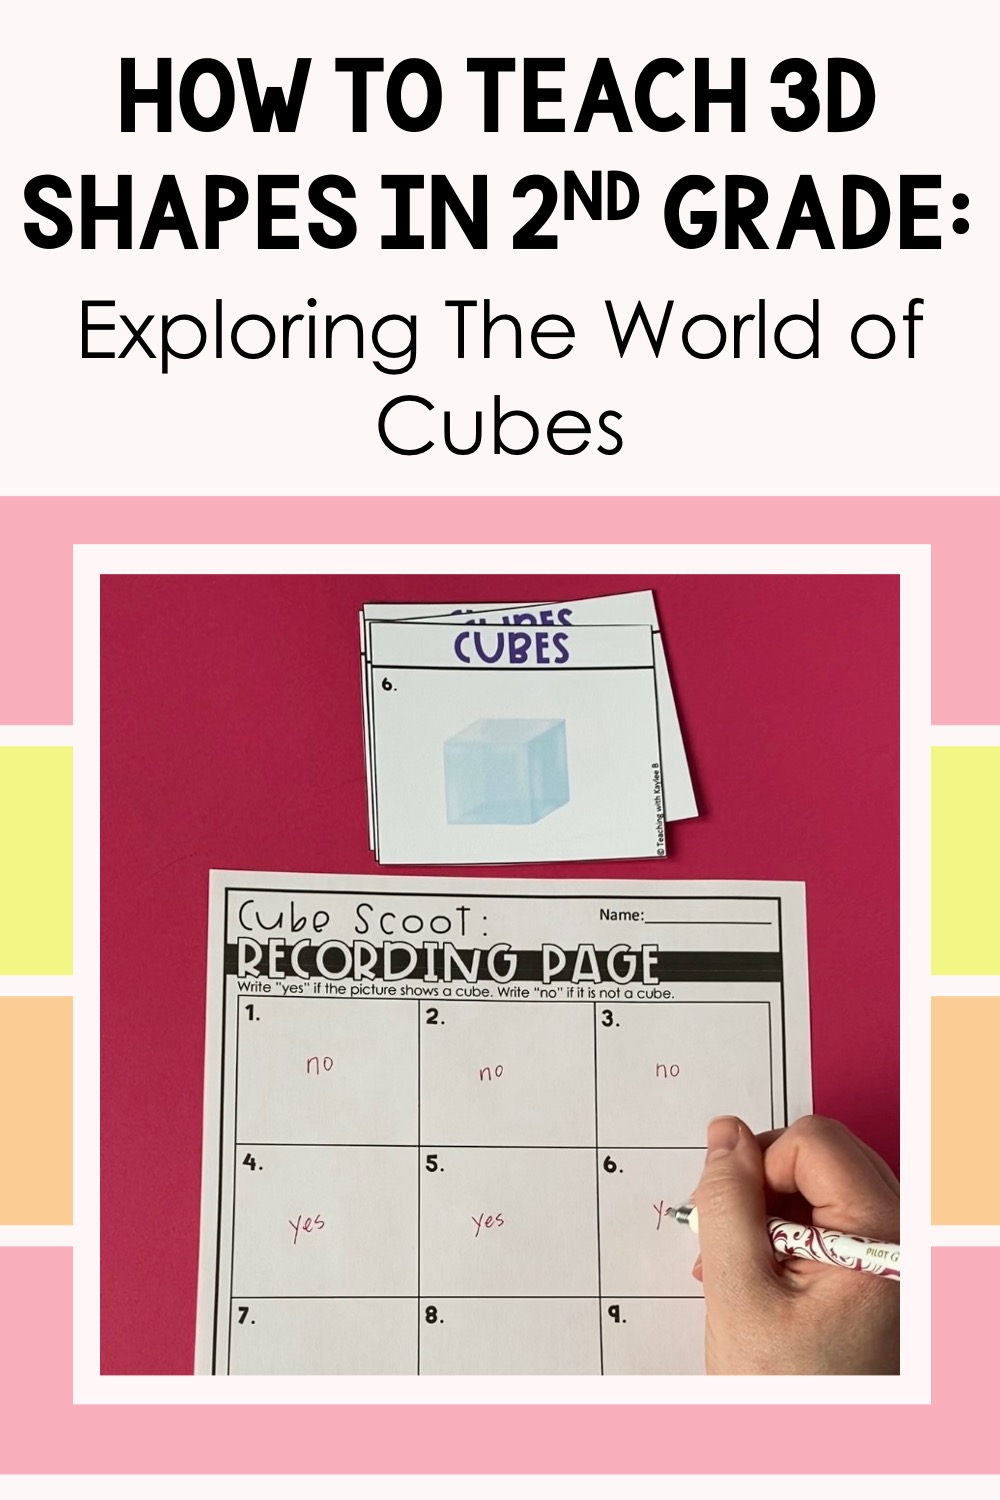
Then I like to get students up and moving for some additional practice. I have them complete a Cubes Scoot Activity.
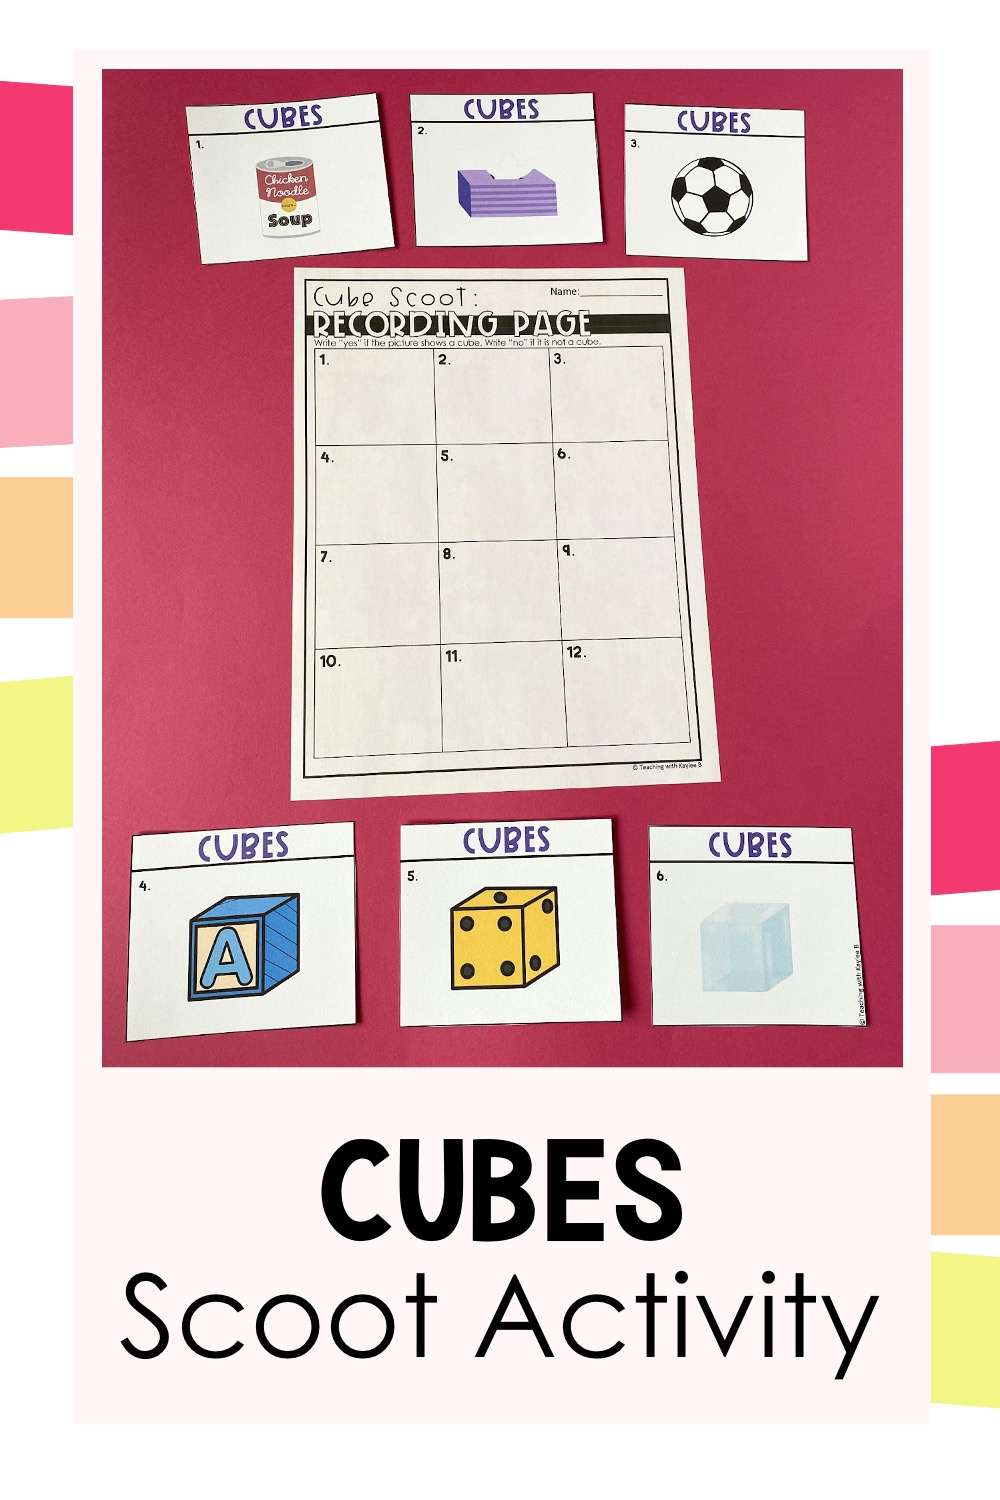
Wanting to know how to teach 3D shapes to kids? In 2nd grade we start with cubes. This fun activity helps students practice identifying cubes.
For this activity, I have task cards taped up around the classroom. These show real world examples of 3D shapes. Students take their recording sheet around to the different task cards. They write “yes” if it shows a cube. Students write “no” if the shape is not a cube. When students are finished with this activity, I have them check their own work with an answer key I have set out. Find this scoot activity here.
Then I want to get students some hands-on practice. I have students complete a fun Cube Sorting Activity. They find a place on the floor and spread out their cards. They lay the headers out that say “Cube” and “Not a Cube.” Students sort out the cards on whether or not they show a cube.
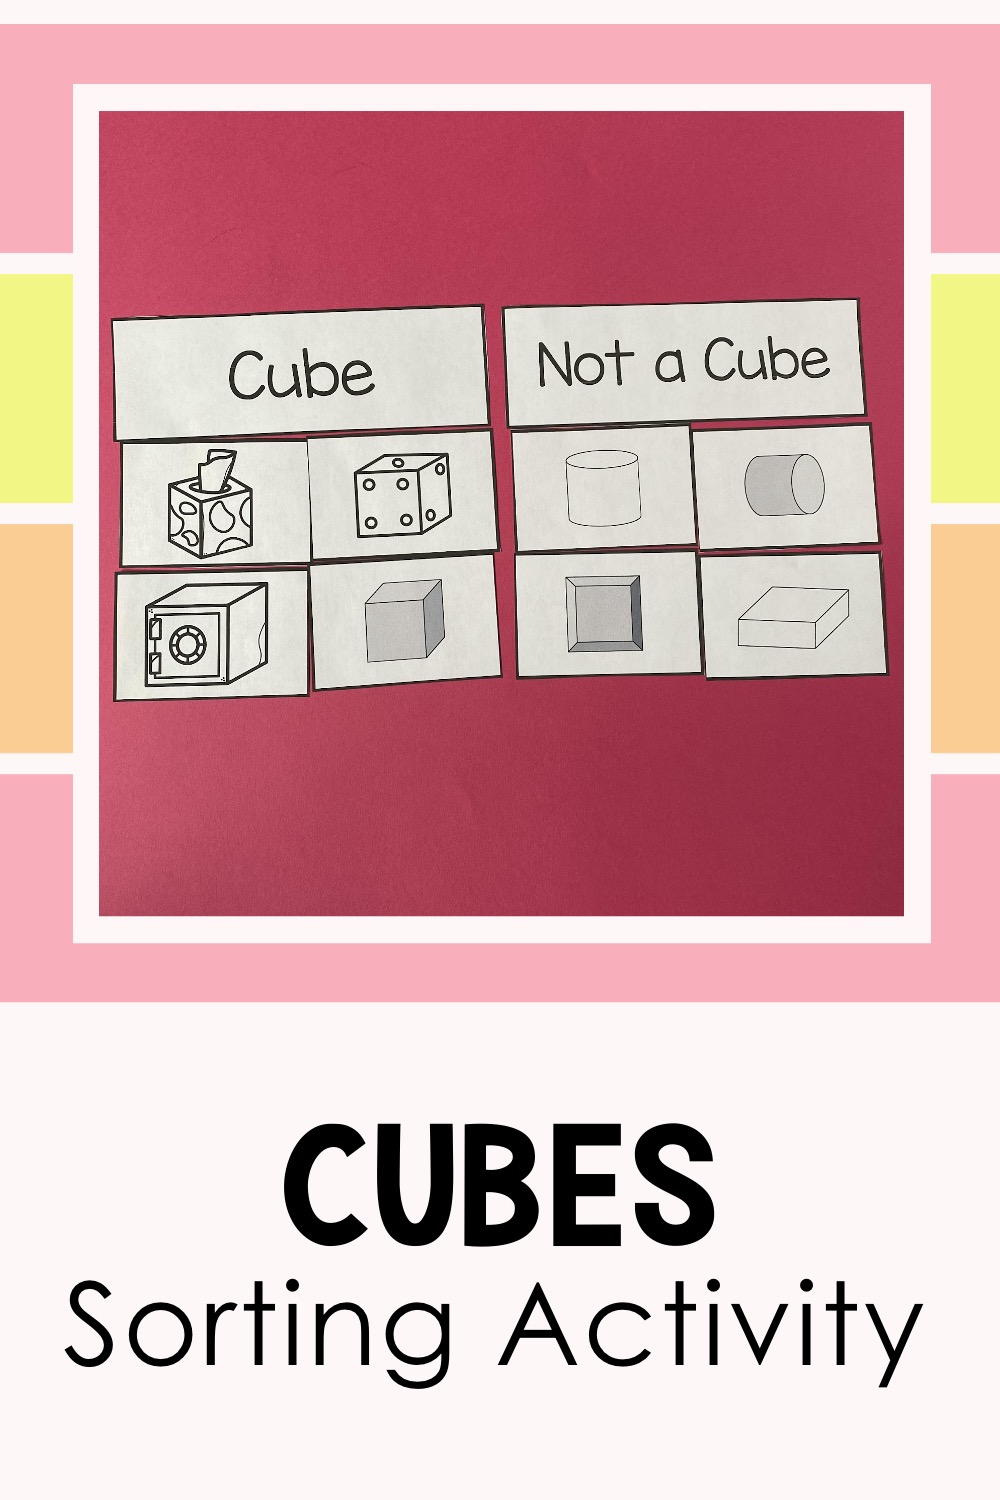
When teaching 3D shapes, use lots of examples and nonexamples. This sorting activity helps 2nd grade students practice identifying cubes.
When students are finished with this, I have them raise their hand. I come over and check their work. Then they mix up the pieces, slip back on the paper clip, and the puzzle is ready for the next student. Find this puzzle activity here.
Finally, I want to check students’ understanding on 3D shapes and cubes, so I have them complete an exit ticket. This ticket has students rate themselves on how they feel they understood the lesson. Then they answer a couple questions. Students have to identify the cubes shown. I look at these exit tickets after the lesson and take note of students who could use some more practice with cubes during our math centers time.
Find all of my materials on how to teach 3D shapes in 2nd grade in this resource here. It’s actually a bundle of all my 2nd grade shapes materials! It has everything you need to teach shapes and their attributes!
I hope this blog post on how to teach 3D shapes in 2nd grade has been helpful. Remember, we just focus on identifying cubes in 2nd grade. Help students discover 3D shapes rules of a cube. Then get them lots of practice with cube worksheets and activities.
