Shapes are their properties are some of my favorite lessons in 2nd grade. These geometric shapes and their properties lessons are so different from the other math standards in 2nd grade that students love the change up of things too!
Learn the best tips for teaching shapes and their properties here in this blog post.
The lessons are also so easy to relate to our lives because there are shapes all around us. My 2nd grade students love to search our classroom for the different shapes I teach them. After years of teaching shapes and their properties to my 2nd graders, I’ve discovered 3 things I need to focus on to help my students really understand shapes. So today, I thought I would share these 3 things here in this blog post.
Shapes and Their Properties
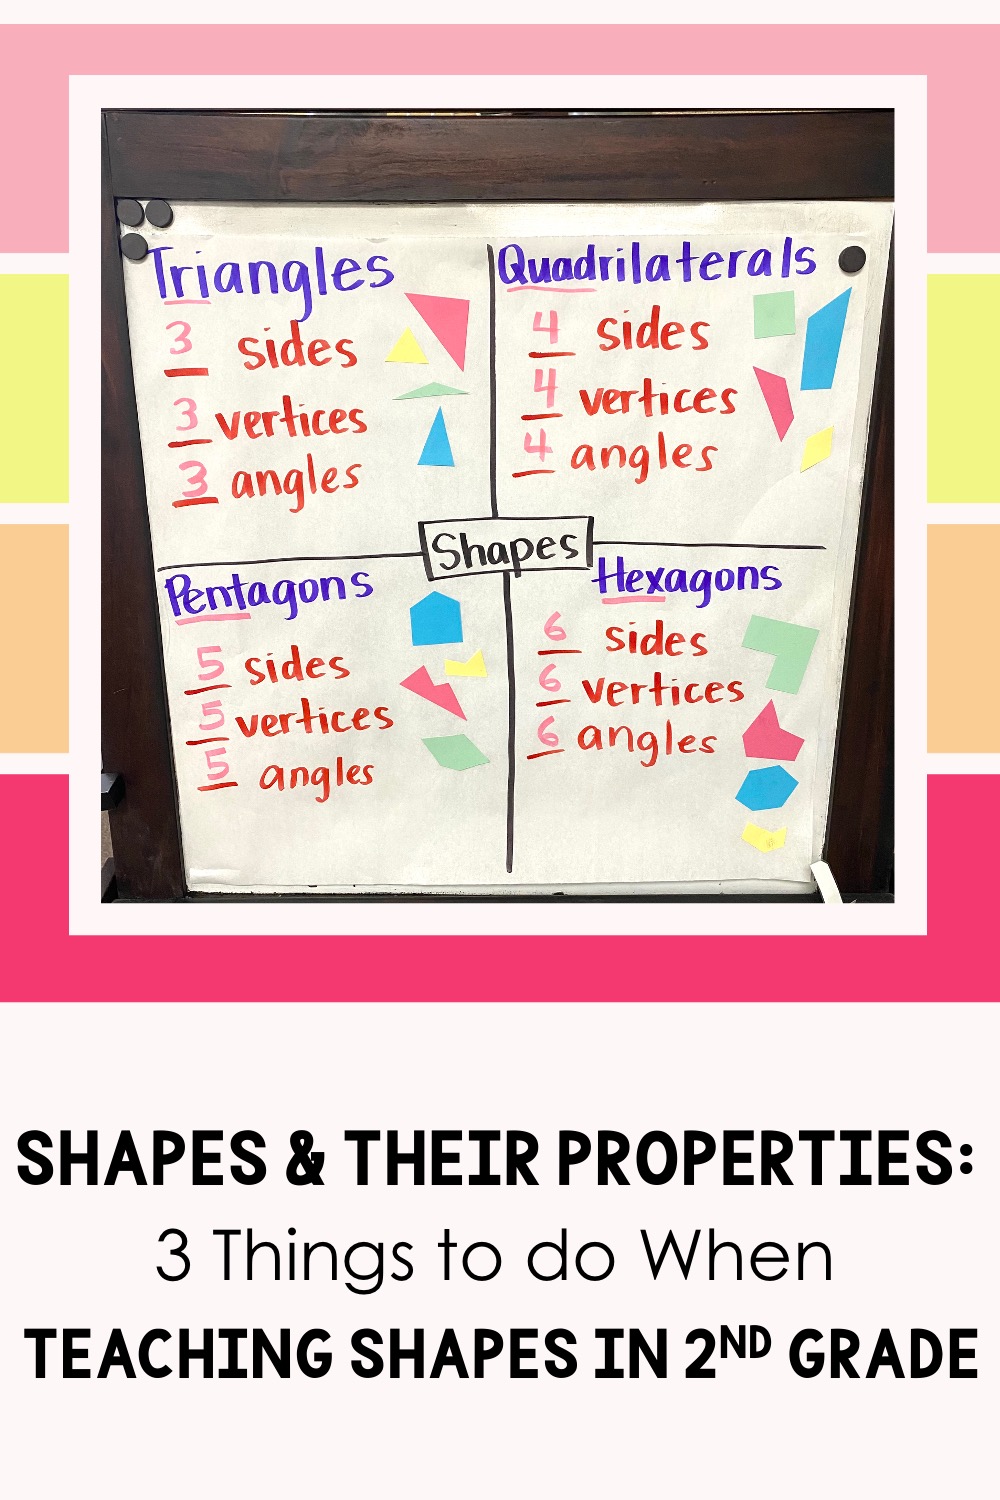
1. Focus on Properties. Well what are the properties of shapes? For 2nd grade, we focus on how many sides, vertices, and angles of a shape. If a shape has 3 sides, 3 vertices, and 3 angles, then it is a triangle. Quadrilaterals have 4 sides, 4 vertices, and 4 angles. If a shape has 5 sides, 5 vertices, and 5 vertices, it is a pentagon. Hexagons have 6 sides, 6 vertices, and 6 angles. Focusing on the properties of shapes help students identify these shapes no matter how they look. They can just count up the sides, vertices, or angles and know exactly which shape it is.
To help students remember these properties, I made an anchor chart with them. We list out these shapes and write how many sides, vertices, and angles they have. Then I cut out a bunch of little shapes and students have to help me sort them on where they should go on our chart. To figure that out, I call on students to come up and hold the shape. They take it and count up the sides. Then they tell me where I should glue it on this chart.
I like to have this shapes anchor chart displayed up for our whole unit about shapes. Students can reference when needed and it helps them when they don’t know how to spell the names of the shapes. Not into writing up your own anchor charts? I have one premade for you! Check out this resource here.
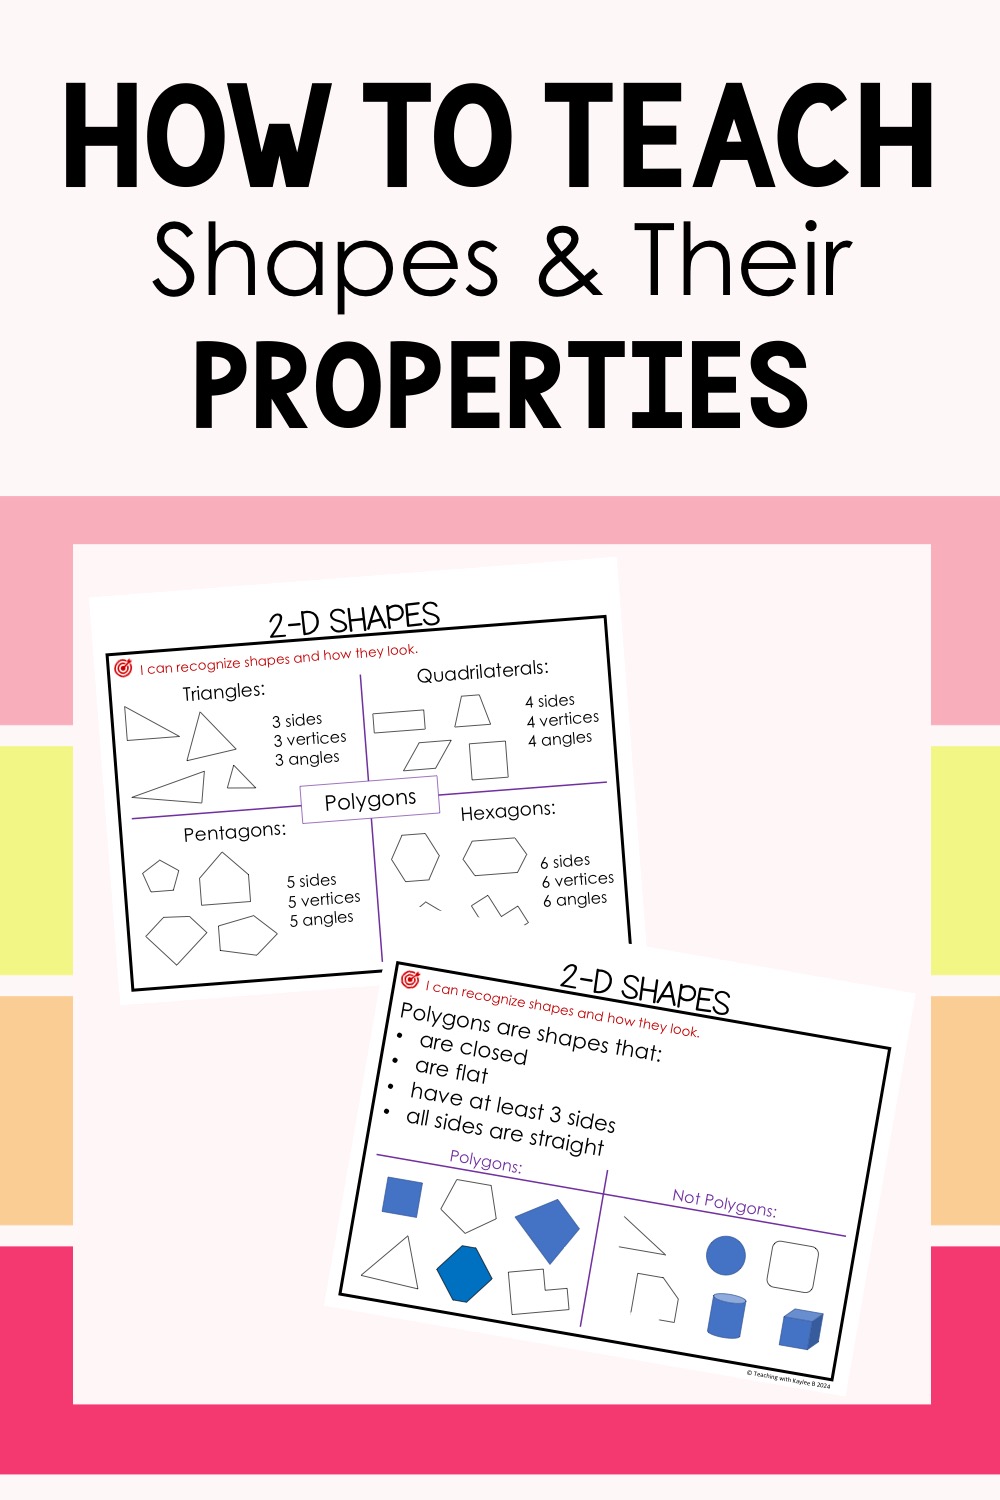
Having these display pages makes it so easy to focus on shape attributes when it comes to teaching shapes and their properties.
I don’t just focus on properties when it comes to triangles, quadrilaterals, pentagons, and hexagons. Properties are important to focus on when it comes to teaching what polygons are to. Polygons are closed plane shapes with 3 or more sides. Their sides must be straight. To teach my students these, I show my students lots of examples and nonexamples of polygons. I do this by displaying pages of examples and nonexamples. Find these display pages here.
I also teach my students solid shapes and their properties. For 2nd grade we focus on just cubes. I display a cube for my students and we count up the sides, edges, and vertices. We also take note of the shape up the sides. Each side must be square and they would all be the same size. I have display pages I share with students about cubes as well. Find it here. These pages also show lots of examples and nonexamples of cubes.
This leads us to the next thing I focus on when teaching shapes and their properties.
2. Use Lots of Examples and Nonexamples. If I want to teach my students about quadrilaterals, I teach them their properties and then I display a bunch of shapes that are quadrilateral and a bunch of shapes that are not quadrilaterals. Students have to help me identify all the quadrilaterals. Find these display pages I use for this here.
To help my students get more practice identifying each shape, I have them do a sorting activity. This is just one of the shape games for 2nd grade I have my students do. The sort has headings that say triangles, quadrilaterals, pentagons, and hexagons. Then they sort cards that have different shapes on them. If they don’t see which shape it is right away, they can either count the slides, vertices, or angles to discover which shape it is. I like students to work with a partner to complete the sort. Then it gets them naturally talking to each other about the shapes and their properties.
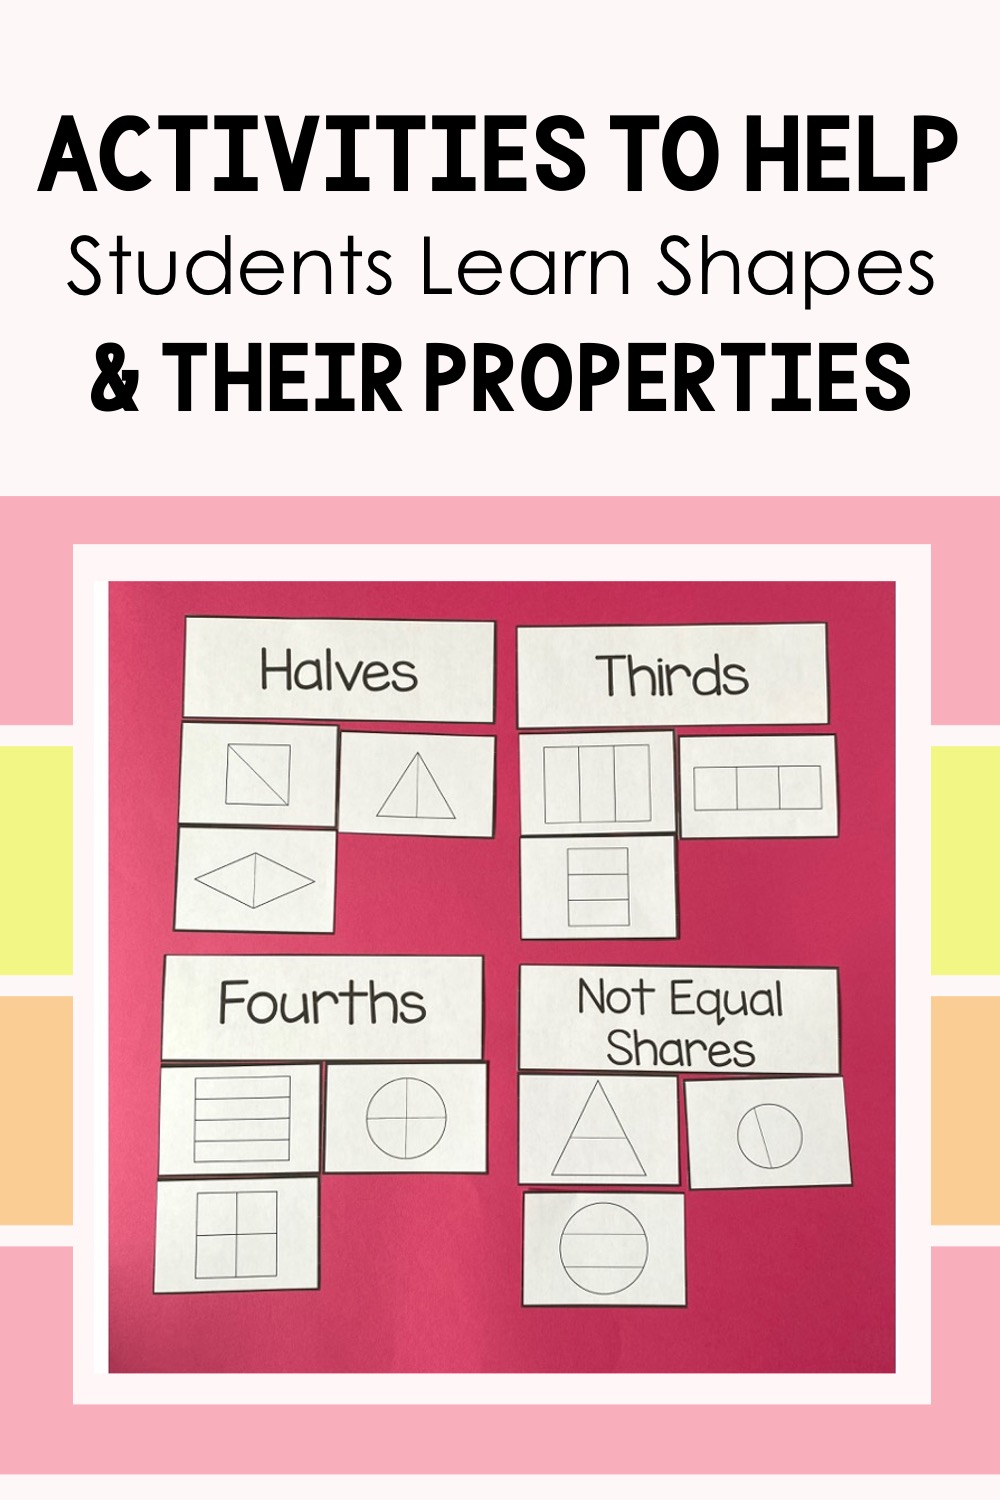
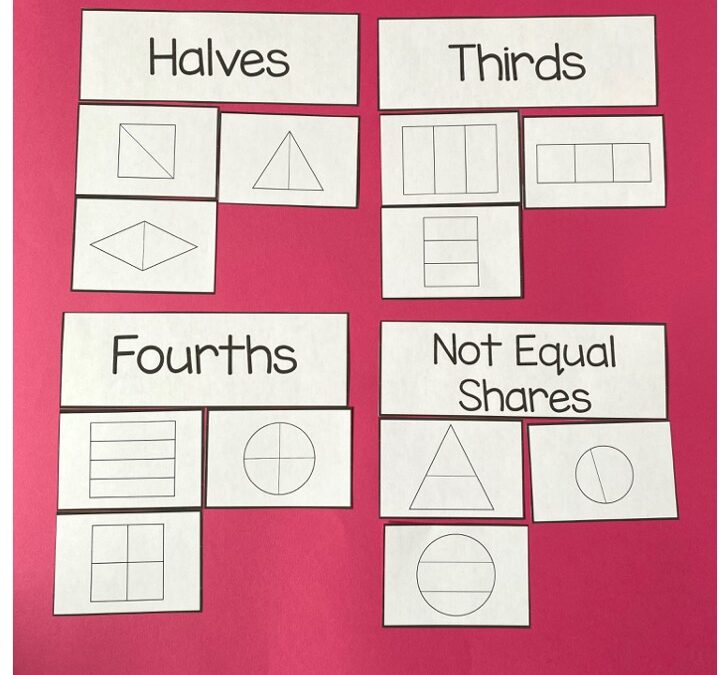
This sorting activity is a fun, hands-on way for 2nd grade students to learn about shapes and their properties.
Find the shapes sorting activity to use in your classroom here.
3. Show Shapes That Are Not Common. If you look at the anchor chart I shared above, you’ll see that I tried to cut out different examples of shapes that are not what you typically think of when you first hear the name of one of the shapes. I like to show my students a typical hexagon. Then I show them a hexagon that is less common. My students count the sides, vertices, and angles to confirm that it is a hexagon. We do this with each of the shapes.
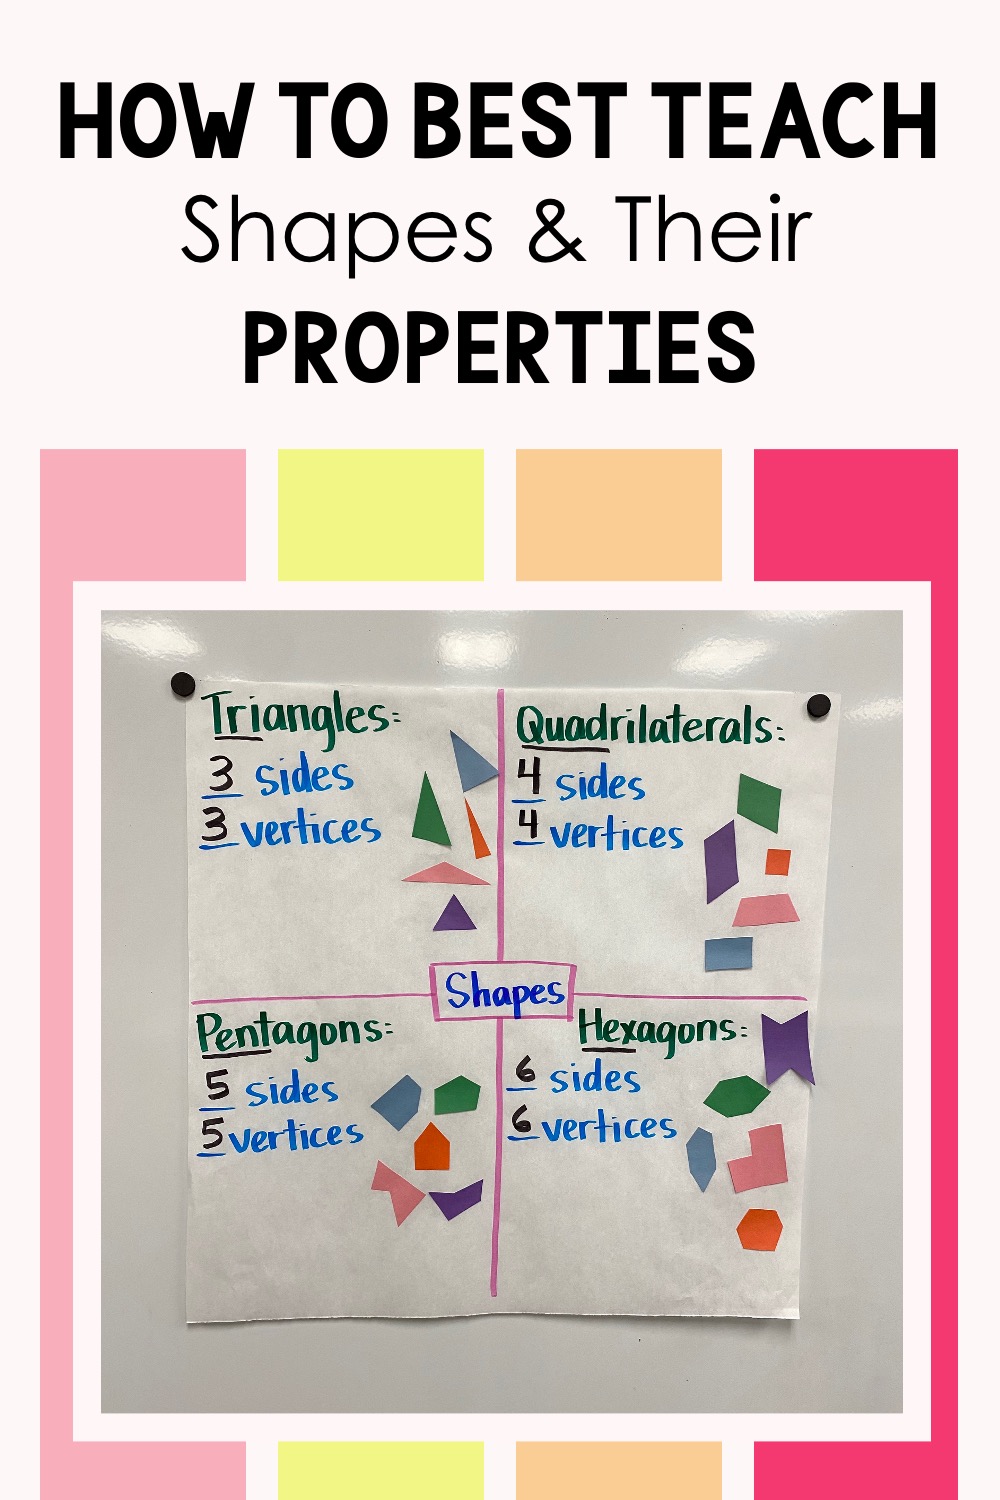
Help students learn plane shapes and their properties by showing them examples of uncommon shapes.
This is so important to do because when I say “quadrilateral” I don’t want my students to just picture a square. I want them to picture any shape that has 4 sides, 4 vertices, and 4 angles. This might be a rectangle, a rhombus, or a trapezoid. It might also be a 4 sided shape that doesn’t have a special name. Showing uncommon shapes helps students focus on properties rather than just looks. Find my display pages and activities that use uncommon shapes here.
Okay, now let’s get into the nitty-gritty on how I actually teach my students shapes and their properties while applying the things I shared above.
List of 2D Shapes and Their Properties PDF
To teach the 2D shapes to my students I use a plane shapes and their properties pdf to guide me on everything! It has the display pages, worksheets, activities, and assessment tools I need to successfully teach my students shapes and their properties with ease.
I use the display pages for direct instruction. One page lists out the requirements for polygons and it shows examples and non examples. Then it has a page that is great for guided practice.
There are a bunch of shapes that are polygons and are not. Students have to help me identify the polygons. Then they are ready to learn about each polygon. There are display pages for triangles, quadrilaterals, pentagons, and hexagons. This page is a list of 2D shapes and their properties PDF that I can print off for students to refer to as needed as well. Then there are pages for each shape where students have to help me identify those shapes and circle them. After getting through each shape, students are ready to get some practice on their own. I do this with worksheets.
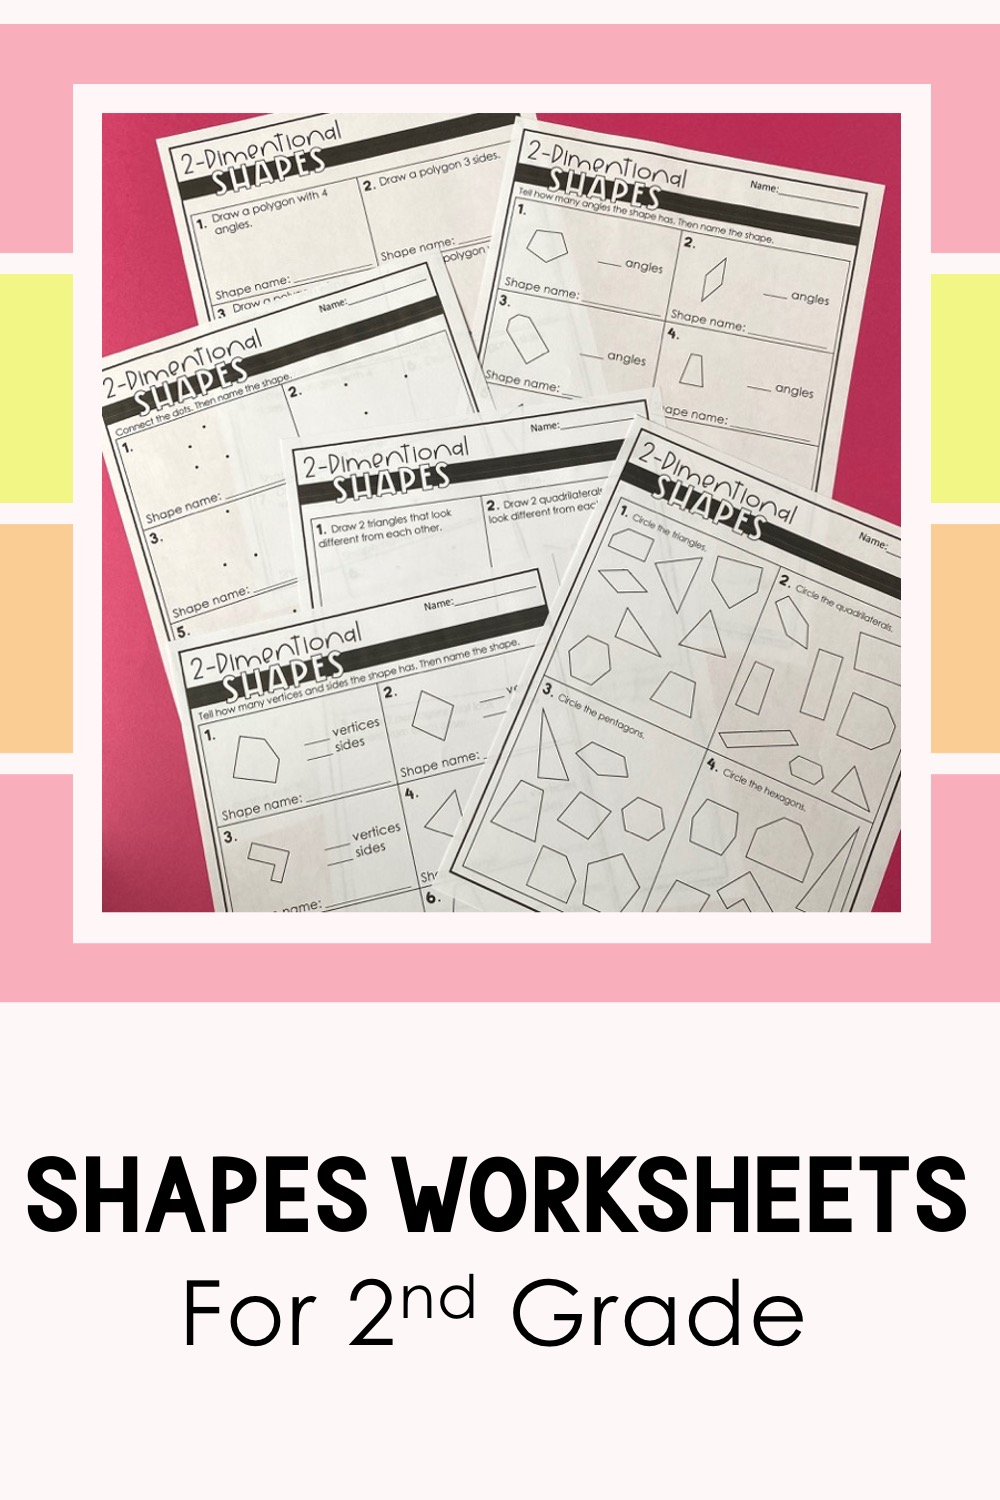
These shape worksheets for 2nd grade help get students the practice they need to learn about the shapes and their properties.
For these worksheets, I like to do a couple questions together as a class and then have students do the rest by themselves. As students are working, I wait at our classroom table with a special smelly marker. When students are finished, they line up by the table. I quickly check their work and write a giant check mark on their page to show that I check it with them.
Then students are ready to get some more hands-on practice. I have them complete a shapes scoot activity. I tape up task cards that have different shapes on them around our classroom. Students go around with a recording page. They identify the shape on the card and write down the shape’s name. I like to have students do this with a partner so that they can support each other and it gets them talking naturally about the shapes and their properties. When students do this activity, I hear them say things like, “I know this is a quadrilateral because it has 4 sides.”
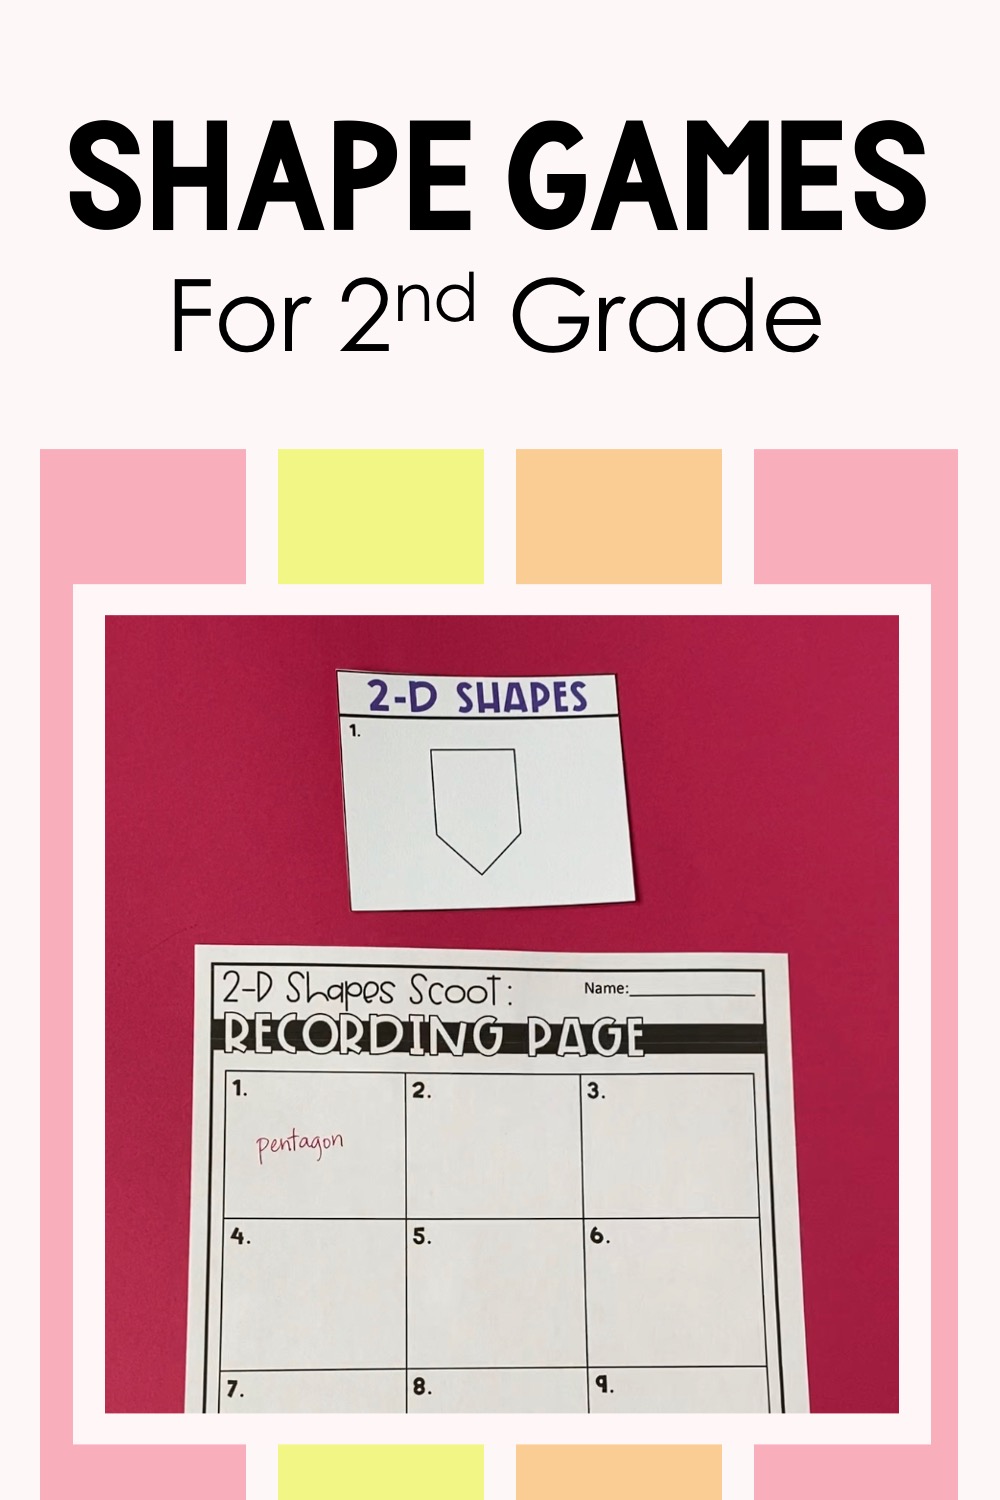
I like to have my students play shapes games for 2nd grade because it gets them talk naturally about the shapes’ properties.
After students finish that scoot activity, I have them check their own work by leaving out an answer key. I have students correct their work in red pen. This way when parents look at their work, they can see if their child understands the concept or not.
Then I have students do a sorting activity. I also like students to work with a partner for this. They sort the shape cards under the headings of triangles, quadrilaterals, pentagons, and hexagons. When students are done, they raise their hands and I do a quick look over their work.
After that, students complete an exit ticket individually. They rate themselves on how they understood the lesson and then answer a couple of questions. I’ll review those later. If I think students could use some extra practice, I’ll set out more shape activities for centers over the next few days.
It’s so nice having everything I need for this lesson in one place. Find my Shapes and Their Properties resource here.
This resource also includes everything you need to teach about cubes and fractions. All of these lessons match the 2nd grade common core state standards for geometry. It’s like a 2nd grade bundle for teaching geometry. Find it here.
I use this same lesson structure to teach 3-digit addition strategies and 3-digit subtraction strategies. Read more about this in these blog posts:
How 2nd Grade Students Best Understand 3-Digit Addition Strategies
Subtraction Strategies For 3-Digit Numbers: How 2nd Grade Students Best Understand Them
As an Amazon Associate I earn from qualifying purchases.
